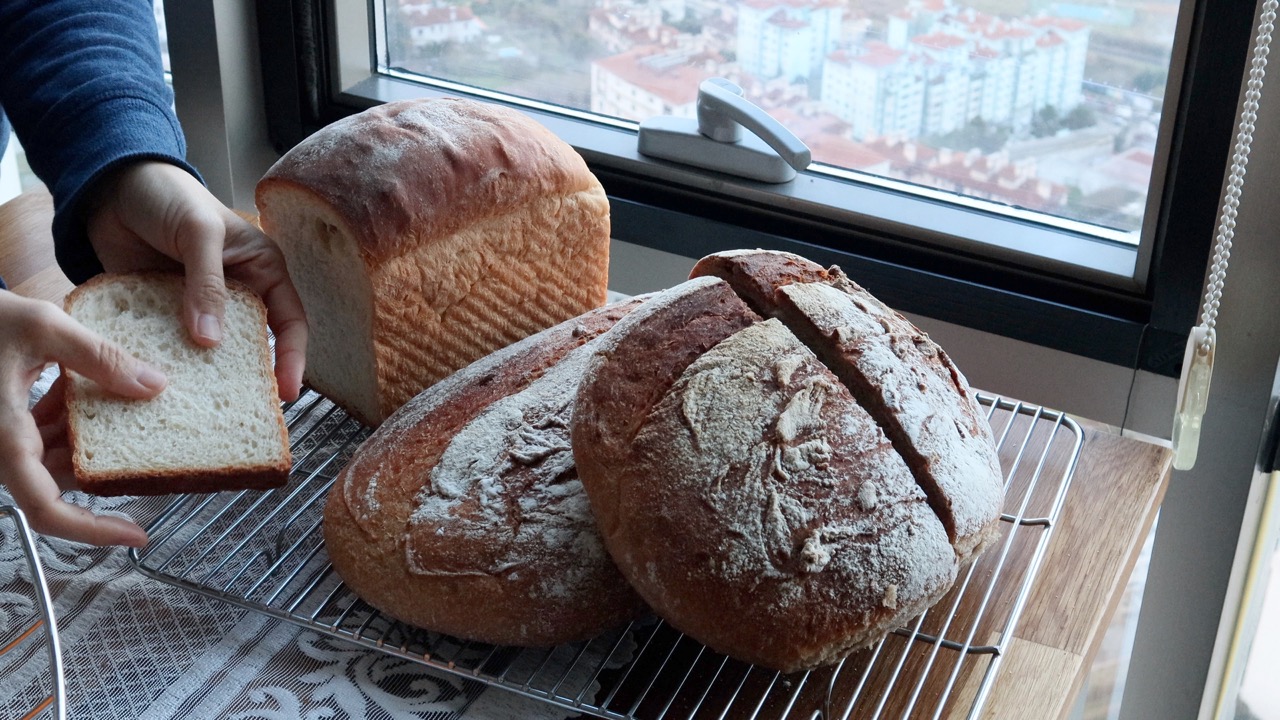
Bread baking day is my favorite tradition—a mix of calm moments and warm aromas. In this post I am sharing two breads as a simple guide to simply making bread at home: a hearty whole wheat and rye sourdough loaf and soft, fluffy toast bread. It will be ready in the same day with simple steps that will not give you hard times.
I started the sourdough with the autolyse method, mixing flour and water to rest before adding salt and my active starter. Slap-and-fold kneading gave the dough its structure, and after proofing, it was ready to bake. For the toast bread, I combined milk, water, yeast, and sugar, gradually adding flour and butter to create a soft dough. Shaped and rested in its pan, it baked into a golden, fluffy loaf.
By evening, my kitchen was filled with the aroma of fresh bread—rustic sourdough for hearty meals and soft toast bread perfect for breakfast. Bread baking never fails to bring joy and warmth to my home!
Bread Types: Exploring the Classics
- Sourdough
A tangy, naturally leavened bread with a chewy texture and crisp crust. Perfect for those who love artisan-style baking. - Toast Bread
Soft and fluffy with a fine crumb, this bread is ideal for sandwiches and morning toasts. - Flatbreads
Includes pita, naan, or Turkish bazlama—quick breads cooked on a griddle or stovetop. - Baguette
A French classic with a crispy crust and airy interior, perfect for dipping or sandwiches. - Whole Wheat or Multigrain Loaves
Packed with fiber and flavor, these loaves use whole grain flours for a hearty bite.
Turkish Bread Types: A Culinary Heritage

Ekmek
The staple loaf of Turkey, soft and versatile, perfect for any meal.
Simit
A golden, sesame-coated ring of bread often enjoyed with tea, cheese, and olives.
Bazlama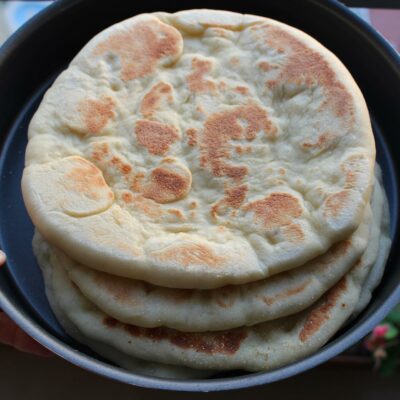
A fluffy, skillet-cooked flatbread that pairs beautifully with dips or grilled meats. Here is the bazlama bread I shared on youtube: https://www.youtube.com/watch?v=m7M0MIFB45A
Pide
Known as the “Turkish pizza,” this bread is shaped like a boat and topped with cheese, minced meat, or vegetables.
Tandır Ekmeği
Bread baked in a traditional clay oven, giving it a smoky aroma and chewy texture.
Lavaş
Soft and thin, this flatbread is a perfect companion to kebabs or wraps.
Flour Types: Choosing the Best for Your Bread
The type of flour you use directly impacts the flavor, texture, and structure of your bread. Here’s a quick guide:
All-Purpose Flour
A versatile choice for most bread recipes. It has moderate protein content, making it suitable for soft breads like toast bread.
Bread Flour
With higher protein content, bread flour creates a chewy texture and excellent gluten development, perfect for sourdough or artisan loaves.
Whole Wheat Flour
Rich in fiber and nutrients, it adds a nutty flavor but requires more hydration due to its bran content. Whole wheat flour is excellent for hearty, rustic breads like multigrain loaves or whole wheat sourdough.
Rye Flour
This flour adds a dense texture and a slightly tangy flavor to bread. It’s often used in combination with other flours for breads like rye sourdough or traditional European loaves. Rye flour has less gluten than wheat flour, making it less elastic but rich in earthy flavor.
Semolina Flour
Derived from durum wheat, semolina is coarser and adds a golden color, nutty flavor, and crisp texture to bread. It’s often used in Italian breads like focaccia or to dust the surface of bread loaves before baking to prevent sticking.
Gluten-Free Flours
For those with gluten sensitivities, alternatives like almond flour, coconut flour, or a mix of rice and tapioca flours can be used. These flours require binding agents like xanthan gum or psyllium husk to mimic the elasticity of gluten.
Whole Wheat and Rye Loaf Sourdough Bread

This sourdough bread uses the autolyse method, a simple yet powerful technique to improve texture and flavor.
What is Autolyse Method?
The autolyse method is a bread-making technique that involves mixing only the flour and water in a recipe and letting it rest before adding other ingredients like salt and yeast. This simple step has significant benefits for the dough:
Benefits of Autolyse
- Improves Gluten Development: The resting period allows the flour to fully hydrate and the gluten to begin forming naturally, making the dough easier to handle and stretch.
- Enhances Flavor: Enzymes in the flour break down starches into sugars during autolyse, which improves the flavor and aroma of the bread.
- Creates a Better Texture: The dough becomes smoother and more elastic, resulting in a softer crumb and better structure.
- Reduces Kneading Time: Since the gluten starts developing on its own, less physical kneading is required.
How to Use the Autolyse Method
- Mix your measured flour and water until just combined—don’t overmix.
- Let the mixture rest for 20–60 minutes (or longer, depending on your recipe).
- After resting, add the remaining ingredients (salt, yeast, sourdough starter, etc.) and proceed with kneading and shaping.
This technique works particularly well in artisan bread recipes like sourdough or whole grain loaves, helping to achieve superior texture and flavor with minimal effort.
You can learn how to make sourdough from scratch from this video. Also if you want to know more about autolyse method you can look at this website too.
Ingredients:
- 700 mL water
- 1 kg flour (250 g rye and whole wheat flour, the rest all-purpose or bread flour)
- 1 cup active sourdough starter
- 3 tsp salt
- Optional: Seeds like pumpkin or sunflower
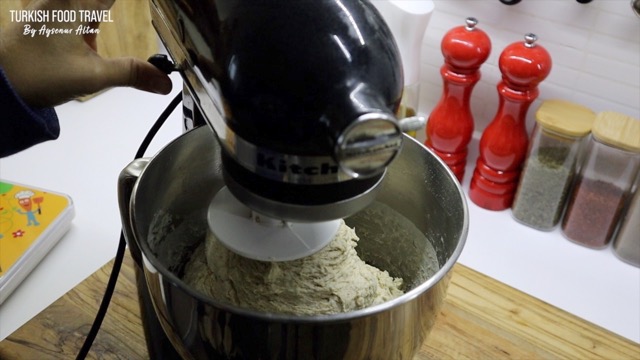
Method:
- Autolyse
- Mix water and flour until all the flour is hydrated.
- Let it rest for at least 60 minutes. This allows the gluten to develop naturally, making the dough easier to work with and enhancing the bread’s flavor.
- Add Starter and Salt
- Mix in the sourdough starter and let it sit for 10 minutes.
- Add salt and optional seeds, kneading until incorporated.
- Slap and Fold Technique
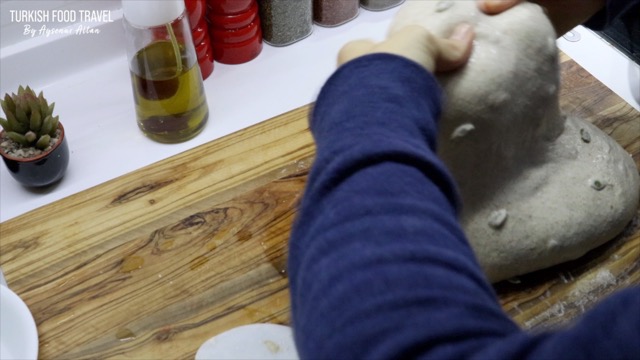
- Lightly oil your countertop to prevent sticking.
- Slap the dough onto the counter, then fold it over itself. Repeat a few times, dipping your hands in water as needed.
- Rest the dough for 45–60 minutes and repeat the folding process two more times.
- Shaping and Proofing
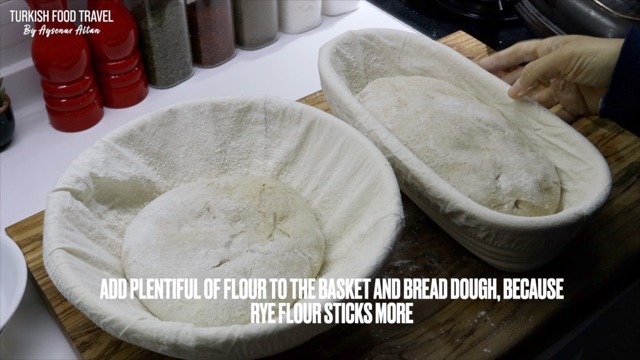
- Divide the dough into two portions. Shape them into rounds or place them in proofing baskets. Alternately you can shape and place into bread pans too.
- Use plenty of flour to prevent sticking. Let the dough proof until it doubles for 5–6 hours at room temperature or overnight in the fridge.
- Baking
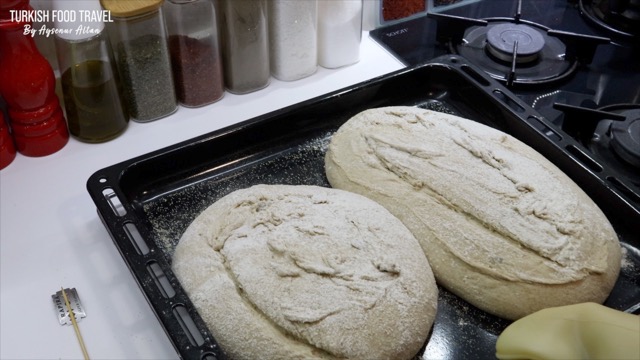
- I simply used my baking tray to bake the breads. First sprinkled semolina to the pan and turned the proofed breads into the tray. I cut with a knife to help rise in the oven.
- Preheat the oven to 225°C (437°F) with a pan of hot water for steam.
- Lower the heat to 190°C (374°F) after 15–20 minutes and bake until golden brown.
Recipe 2: Soft and Fluffy Toast Bread
This is the ideal bread for breakfast or sandwiches, with a quick starter method for added flavor. You can double the amount if you have two pans and freeze one of them after slicing to have it ready whenever you want to make a sandwiches or toasts.

Ingredients:
- 1 cup lukewarm water
- ¾ cup lukewarm milk
- 15 g fresh yeast (or 2 tsp active dry yeast)
- 1 tbsp sugar
- 3½ cups flour
- 1 tsp salt
- 1 tbsp butter
Method:
- Quick Starter
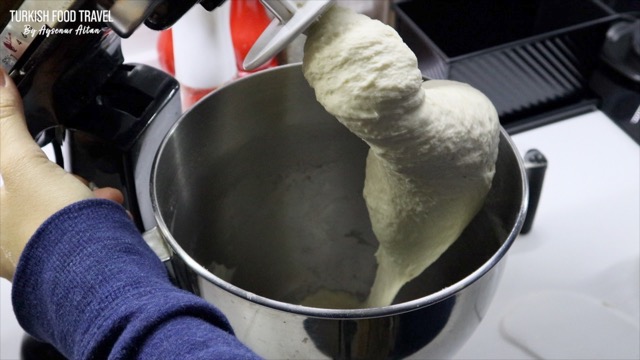
- Mix water, milk, yeast, sugar, and 1 cup of flour.
- Let it rest for 10 minutes until foamy.
- Mixing and Kneading
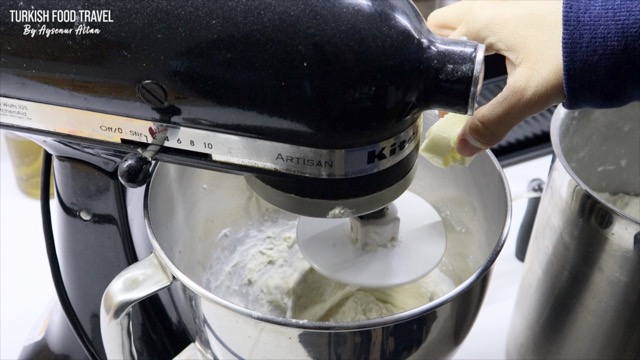
- Gradually add the rest of the flour, salt, and butter.
- Knead until the dough is smooth and slightly sticky
- Cover the dough and let it rise until doubled in size (about 1 hour).
- Shaping
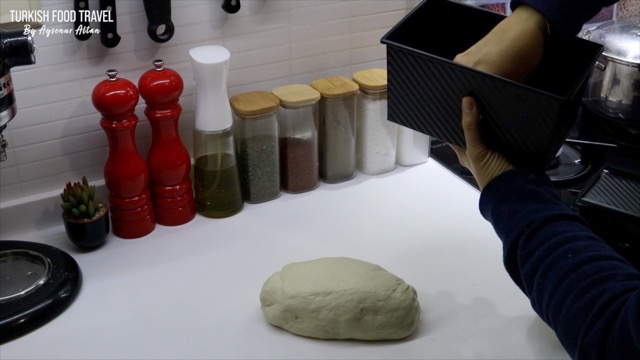
- Oil your countertop and shape the dough into a log. To make it smoothly open up and a shape into log and secure it from bottom and keep the smooth side up
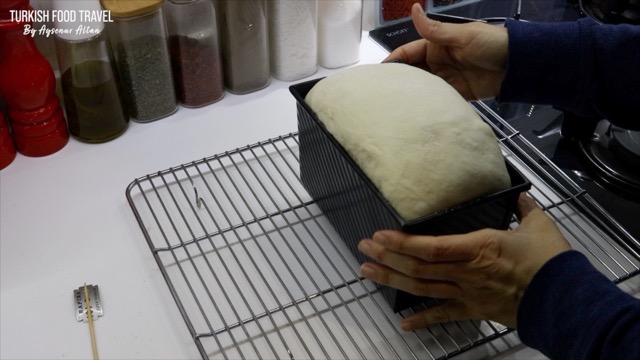
- Place it in a buttered toast pan for a smooth crust.
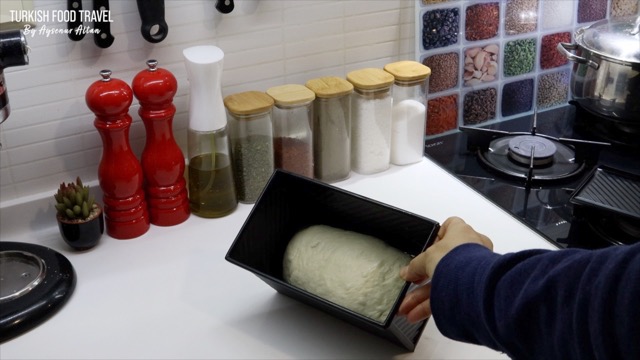
- Oil your countertop and shape the dough into a log. To make it smoothly open up and a shape into log and secure it from bottom and keep the smooth side up
- Second Rise
- Let the dough rise again until it fills the pan.
- Let the dough rise again until it fills the pan.
- Baking
- Bake in a preheated oven at 190°C (374°F) until golden.

Tips for Success
- Choosing Flour
All-purpose flour is versatile, while bread flour offers a chewier texture. Whole wheat and rye flours add depth of flavor but can make the dough stickier—adjust with additional flour as needed. - Mastering Sourdough
If you don’t have a sourdough starter, you can easily make one at home. Feed it regularly for the best results. - Proofing Pointers
Use well-floured baskets or parchment paper to avoid sticking during proofing. Longer proofing times in the fridge enhance flavor. - Steam for Crust
Adding a pan of hot water to the oven creates steam, giving your bread a beautiful crust.
Don’t forget to look at my other baking recipe videos:

